Before your operating system loads, a small yet powerful program called the BIOS (Basic Input/Output System) kicks in. This firmware wakes up your hardware when you hit the power button and plays a crucial role in your PC’s speed, stability, and security. XDA Developers points out that there are four specific BIOS settings worth adjusting on every new build, yet most people never even consider them.
Why BIOS Settings Matter More Than You Think
Think of the BIOS as the rules established before a game. Even with top-notch hardware, using the wrong default settings can lead to wasted performance or security vulnerabilities. Motherboard manufacturers set conservative defaults to ensure compatibility across various systems, not to optimize performance for your specific components.
Making these four changes takes about ten minutes, but they can noticeably enhance boot times, memory performance, security, and hardware compatibility.
The 4 Settings Worth Changing
1. Enable XMP or EXPO for Your RAM
When you purchase a RAM kit rated at 6000MHz, it won’t run at that speed right away. Most systems default to a slower speed, often 4800MHz or lower, to ensure stability across different hardware setups. By enabling XMP (Intel’s eXtreme Memory Profile) or EXPO (AMD’s equivalent), you’re instructing your system to run the RAM at the speed you actually paid for. This simple toggle in the BIOS is one of the easiest performance upgrades you can make.
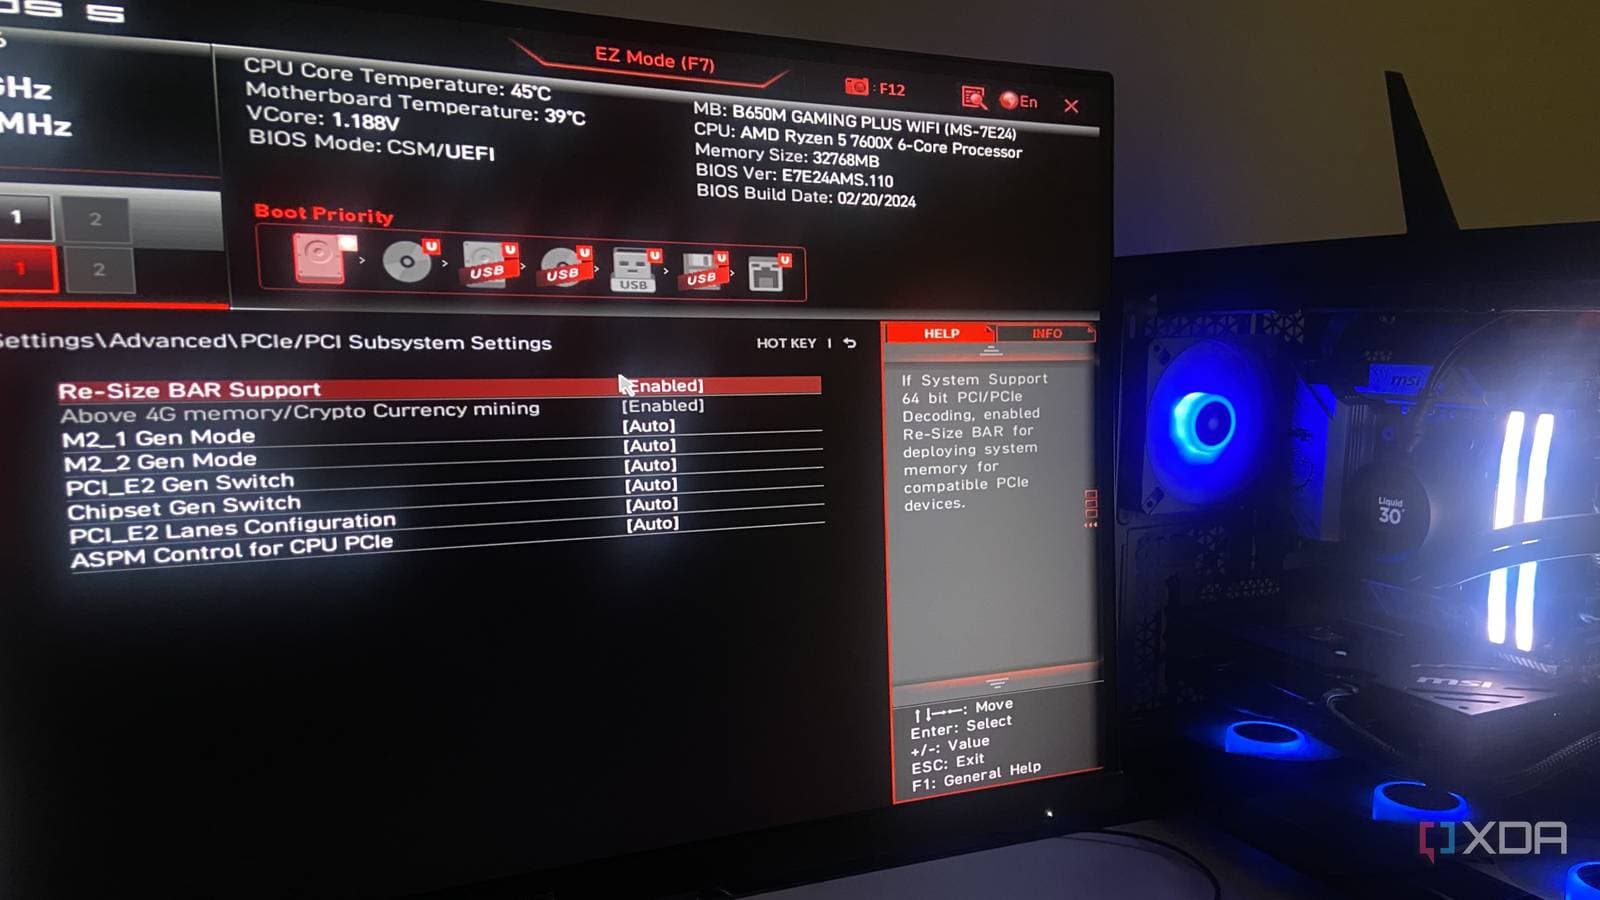
2. Switch the Boot Mode to UEFI Only
UEFI (Unified Extensible Firmware Interface) is the modern successor to the older BIOS boot standard. Many motherboards still come with a “Legacy” or “CSM” (Compatibility Support Module) mode enabled to support older hardware. If you’re using a current system with Windows 10 or 11, disabling Legacy mode and switching to UEFI-only improves boot security. It enables features like Secure Boot, which blocks unauthorized software from loading before Windows, and can even speed up your startup times.
3. Enable Secure Boot
Secure Boot checks whether your operating system and bootloader (the software that starts Windows or Linux) have been altered before they load. Think of it as a bouncer for your PC—if something unauthorized tries to run at startup, Secure Boot blocks it. Windows 11 requires this feature, but many systems have it disabled or set to “Setup Mode.” Properly enabling it adds an important layer of protection against specific malware targeting the boot process.
4. Set the Correct Primary Display Output
If your PC has both a dedicated graphics card (like an Nvidia or AMD GPU) and onboard graphics from your processor, the BIOS needs to know which one to prioritize. If this setting is incorrect, your system might waste time trying to initialize the wrong display output, leading to slower boot times or a blank screen at startup. By setting the primary display to your dedicated GPU’s connection—whether that’s a PCIe slot or a specific port—you ensure everything runs smoothly right from the start.
What This Means
If you’ve ever built or purchased a desktop PC and noticed it booted slowly, these settings might be the culprit. You don’t need to be a PC expert to change them—most modern BIOS interfaces are graphical and easy to navigate with a mouse. The real risk lies in skipping these adjustments and allowing your hardware to underperform by default.
For everyday users, enabling XMP or EXPO is the most impactful tweak. Running your RAM at its advertised speed instead of the default can boost performance in memory-intensive tasks like gaming, video editing, and even juggling multiple browser tabs—without spending a dime.
Community Reactions
“XMP alone made my PC feel like a completely different machine. I had no idea my 6000MHz RAM was running at 4800 for six months.”
“People spend hundreds on better CPUs and GPUs but never check if their RAM is even running at spec. This should be required reading for anyone doing a new build.”
How to Get Into Your BIOS
To access your BIOS, restart your PC and press the designated key during startup—usually Delete, F2, or F12, depending on your motherboard brand. The correct key often appears briefly on your screen during boot. Once you’re in, look for sections labeled “Advanced,” “OC” (overclocking), or “Boot” to find the settings mentioned above.
For a complete walkthrough of each setting, XDA Developers has detailed step-by-step guidance for different motherboard manufacturers.
What To Watch
- AMD EXPO adoption: As AMD’s AM5 platform (the socket for Ryzen 7000 and 9000 series CPUs) becomes more mainstream, expect an increase in EXPO-compatible RAM kits. This could lead to better memory speeds becoming standard in future BIOS updates.
- Microsoft Pluton and Secure Boot evolution: Microsoft is pushing deeper hardware-level security features into Windows. Secure Boot is just the starting point, but next-gen security standards requiring BIOS cooperation are expected to roll out in the next 12 to 18 months.
- BIOS auto-tuning features: Several motherboard manufacturers, including ASUS and MSI, are working on AI-assisted BIOS tools that could automatically apply optimal settings at first boot—potentially eliminating the need for manual tweaks like these in future builds.
Daniel Park
Daniel Park covers AI, cloud infrastructure, and enterprise software for Explosion.com. A former software engineer who transitioned to technology journalism 5 years ago, Daniel brings technical depth to his reporting on artificial intelligence, startup funding rounds, and the companies building the future of computing. He breaks down complex AI developments and business strategies into clear, actionable insights for readers who want to understand how technology is reshaping industries.