Wood stoves have made a serious comeback in recent years, and it’s not hard to see why. They offer reliable heat during power outages, reduce heating costs, and there’s something genuinely satisfying about warming your home with a crackling fire. If you’ve been considering adding a wood stove to your home, you might be surprised to learn that the installation process is more approachable than many people think. While professional installation is always an option, many homeowners successfully tackle this project themselves with the right preparation and understanding of the basics. Let’s walk through what you need to know to get started.
Installing a Wood Stove: A Practical Guide for DIY Enthusiasts
Wood stoves have made a serious comeback in recent years, and it’s not hard to see why. They offer reliable heat during power outages, reduce heating costs, and there’s something genuinely satisfying about warming your home with a crackling fire. If you’ve been considering adding a wood stove to your home, you might be surprised to learn that the installation process is more approachable than many people think.
While professional installation is always an option, many homeowners successfully tackle this project themselves with the right preparation and understanding of the basics. Let’s walk through what you need to know to get started.
Understanding the Basics: What You’re Actually Installing
Before diving into the project, it helps to understand what you’re working with. A wood stove installation consists of several key components that work together to safely vent smoke and gases out of your home.
The stove itself sits on a non-combustible pad, protecting your floor from heat and stray embers. Connected to this is the stove pipe, which runs from the stove to either your ceiling or wall. This is where the 6inch stove pipe typically comes into play, as six inches is the standard diameter for most residential wood stoves.
From there, the system transitions to a chimney that extends through your roof or out through an exterior wall. The connection point between different sections, the route through your home’s structure, and the cap that sits on top of your roof all need careful attention during installation.
Planning Your Installation: Location Matters
The first and most important step happens before you buy anything or pick up a single tool. You need to figure out where your stove will sit and how the venting will run.
Walk through your space and consider a few practical factors. You want the stove in a location where it can actually heat the areas you use most. A stove tucked away in a corner of a rarely used room won’t do much for your main living space. At the same time, you need to maintain proper clearances from combustible materials like walls, furniture, and curtains. Most stoves require at least 36 inches of clearance, though this varies by model and whether you’re using heat shields.
Think about the path your chimney pipe will take. A straight vertical run is ideal because it creates the best draft and requires fewer components. Every bend or horizontal section can impact how well your stove draws and may require additional support or special fittings.
If you’re installing in an existing fireplace, you might need a chimney liner to create a safe, properly sized flue for your wood stove. Original masonry chimneys often aren’t suited for modern wood stove use without this added protection.
Gathering Your Materials: The Complete System
Once you know where everything will go, you can start assembling your materials. This is where doing your homework pays off. Having everything on hand before you start makes the project flow smoothly and helps you avoid multiple trips to the hardware store.
Many manufacturers offer wood stove chimney kit options that include all the major components you’ll need for a standard installation. These kits typically include the chimney pipe sections, a roof flashing assembly, storm collar, chimney cap, and the necessary brackets or supports.
Beyond the chimney kit, you’ll need appropriate stove pipe to connect your stove to the chimney system. Don’t confuse these two products, they’re different. Stove pipe is single-wall and connects the stove to your ceiling or wall penetration. Chimney pipe is double-wall or triple-wall insulated pipe designed for running through combustible areas like your ceiling, attic, and roof.
You’ll also want a proper hearth pad if you don’t already have a non-combustible floor in your installation area. Metal ceiling support boxes or wall thimbles depend on whether you’re going up through your ceiling or out through a wall. And don’t forget the basics like high-temperature silicone sealant, metal screws designed for the job, and flashing cement for sealing around your roof penetration.
The Installation Process: Taking It Step by Step
Starting with a solid foundation is essential. Install your hearth pad first, making sure it extends far enough in front of and to the sides of where your stove will sit. Manufacturers provide specific requirements, typically something like 16 inches in front and 8 inches to the sides.
Position your stove on the pad, taking care to maintain proper clearances from walls and furniture. This is also a good time to double-check that the stove is level, as an unlevel stove can affect draft and door operation.
Next comes connecting the stove pipe. This runs from your stove’s flue collar up to your ceiling or out to your wall. The key detail that trips up many first-timers is orientation. Stove pipe sections should be installed with the male end pointing down toward the stove. This “male end down” approach means any creosote or condensation that forms will drip back down into the stove rather than leaking out through the seams.
Each joint should overlap by at least an inch and a half, and you’ll want to secure these connections with three sheet metal screws evenly spaced around the pipe. This prevents sections from separating over time as the metal expands and contracts with heat.
When you reach your ceiling, you’ll install a ceiling support box if you’re going vertical, or a wall thimble if you’re going horizontal through a wall. These components are specifically designed to safely transition from single-wall stove pipe to insulated chimney pipe while maintaining proper clearances from combustible materials.
From this transition point, you’ll assemble your chimney pipe sections. This is where those Best Chimney Pipes for wood stoves really matter. The pipe needs to extend at least three feet above the highest point where it passes through your roof and at least two feet higher than anything within ten feet horizontally. This is often called the 3-2-10 rule, and it’s essential for proper draft and safety.
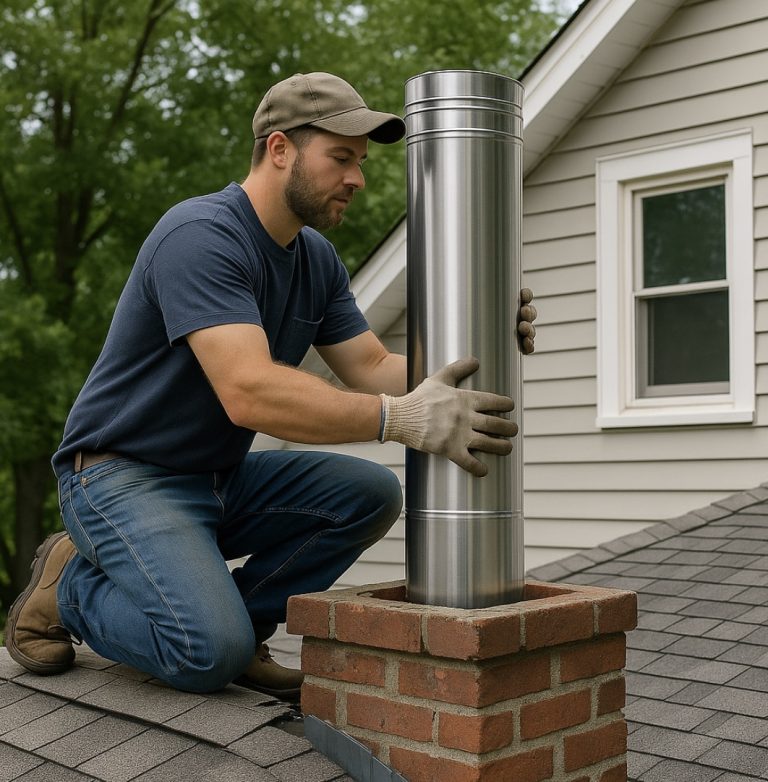
If you’re running through your roof, the flashing assembly is critical. This consists of a base flashing that goes under your upper shingles and over your lower shingles, a storm collar that fits snugly around the pipe, and high-temperature sealant to prevent water infiltration. Take your time with this step. A leaky roof penetration can cause significant damage, and fixing it later means working on your roof all over again.
Cap the whole system with a rain cap or chimney cap. This keeps rain, snow, birds, and other debris out of your chimney while still allowing smoke to vent freely.
Important Safety Considerations
Throughout this entire process, safety needs to be your top priority. Building codes and manufacturer guidelines exist for good reasons, backed by decades of experience and, unfortunately, some hard lessons learned.
Always consult your local building codes before starting. Many jurisdictions require permits for wood stove installations, and some mandate professional installation or inspection. Even if you’re doing the work yourself, having an inspector review your completed installation provides peace of mind.
Maintain all required clearances religiously. If your stove requires 36 inches from a combustible wall, don’t fudge it to 34 inches because that’s where the stove fits better. These clearances are minimums for safe operation.
Invest in proper tools and safety equipment. You’ll likely be working at height when installing chimney pipe and dealing with your roof penetration. Proper fall protection, stable ladders or scaffolding, and having a helper available aren’t optional extras, they’re essential safety measures.
Consider having a professional inspect your work before you fire up the stove for the first time. Many insurance companies actually require professional installation or inspection for wood stove systems. Even if yours doesn’t, the relatively small cost of an inspection is worthwhile for the assurance that everything is safe and properly installed.
Living With Your Wood Stove
After installation comes the learning curve of actually operating your wood stove efficiently. New wood stove owners often make the mistake of treating it like a fireplace, throwing in wood and opening the air wide. Modern wood stoves are designed to burn efficiently with controlled air flow, and learning to manage this takes some practice.
Burn only dry, seasoned wood. Wet or green wood creates more creosote buildup, reduces heat output, and makes your stove harder to operate. Wood should be cut, split, and dried for at least six months, ideally a full year.
Learn to read your stove’s temperature. Many wood stove owners install a magnetic thermometer on the stove pipe about 18 inches above the stove. This helps you keep the stove in its optimal operating range, hot enough to burn cleanly but not so hot that you risk over-firing.
Establish a regular cleaning routine. Inspect your chimney at least once a year, more if you burn a lot of wood or notice draft problems. Creosote buildup is the main cause of chimney fires, and catching it early is far better than dealing with a fire or extensive damage.
Making the Investment Work
Installing a wood stove yourself can save a considerable amount on installation costs, often $1,500 to $3,000 or more depending on your location and the complexity of your installation. That said, this is only worthwhile if you do it correctly.
Choose quality components from reputable manufacturers. Your chimney system is literally the path for hot gases and smoke to exit your home. This isn’t the place to cut corners with bargain-basement materials. Investing in Best Chimney Pipes for wood stoves from trusted sources means better performance and peace of mind.
Take your time with the installation. Rushing leads to mistakes, and mistakes in a wood stove installation can have serious consequences. Better to spend an extra weekend making sure everything is right than to risk a house fire or carbon monoxide issues.
Document everything as you go. Take photos of each step, especially areas that will be hidden once installation is complete. Keep all receipts and product documentation. This information will be valuable for insurance purposes, future maintenance, and if you ever sell your home.
The Bottom Line
Installing a wood stove is absolutely a project that many homeowners can tackle themselves with the right approach. It requires careful planning, attention to detail, and a commitment to following codes and manufacturer guidelines. But the satisfaction of completing a major home improvement project and enjoying the warmth from a wood fire you installed yourself is hard to beat.
Start with thorough research and planning. Invest in quality materials designed specifically for wood stove installations. Take your time with each step of the process. And don’t hesitate to call in a professional for inspection or for parts of the job where you feel less confident.
With the right preparation and approach, you can successfully add a functional, safe wood stove to your home that will provide warmth and comfort for many years to come.
0 Comments